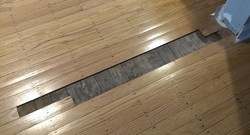
Remove damaged flooring sections. In our case four planks were buckled by water from the Sandy storm. Either pry up against another damaged plank, use a circular saw with the depth set such that you create a slot in the center of the plank, or use a 5 in 1 paint tool and a large flat blade screw driver to lever up the damaged plank without damaging adjacent planks.
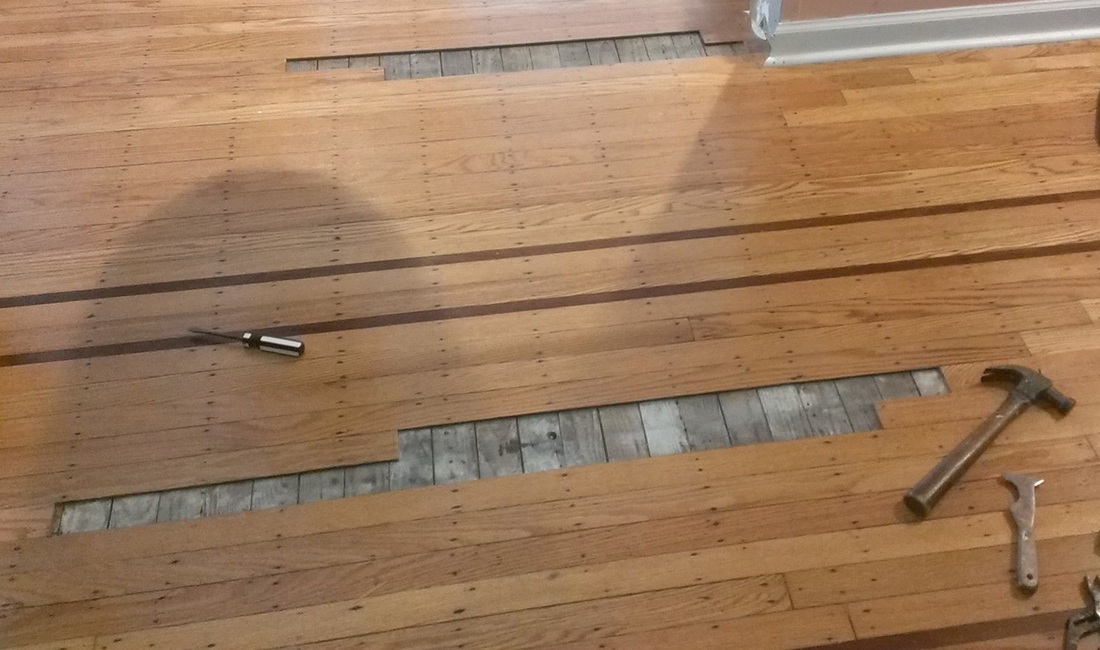
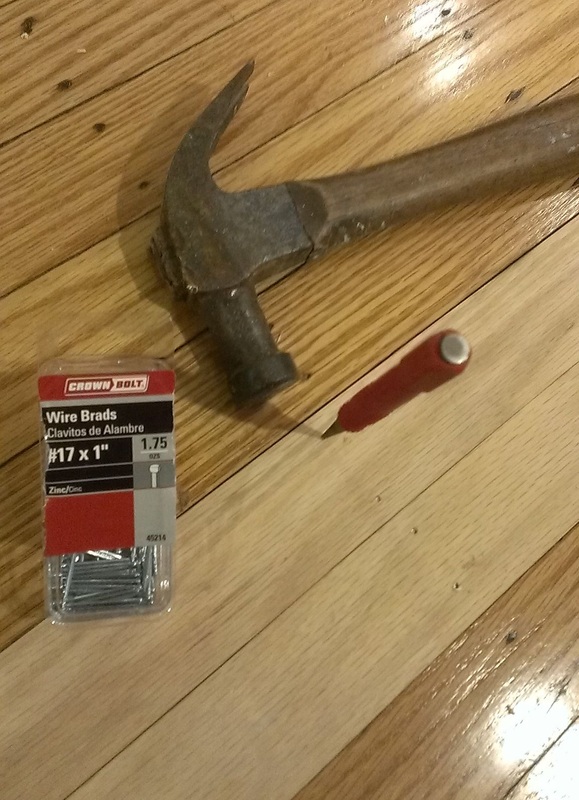
Remove all old nails - use channel locks, mini pry bars, hammer claw. Any nails that won't cooperate, hammer down flush.
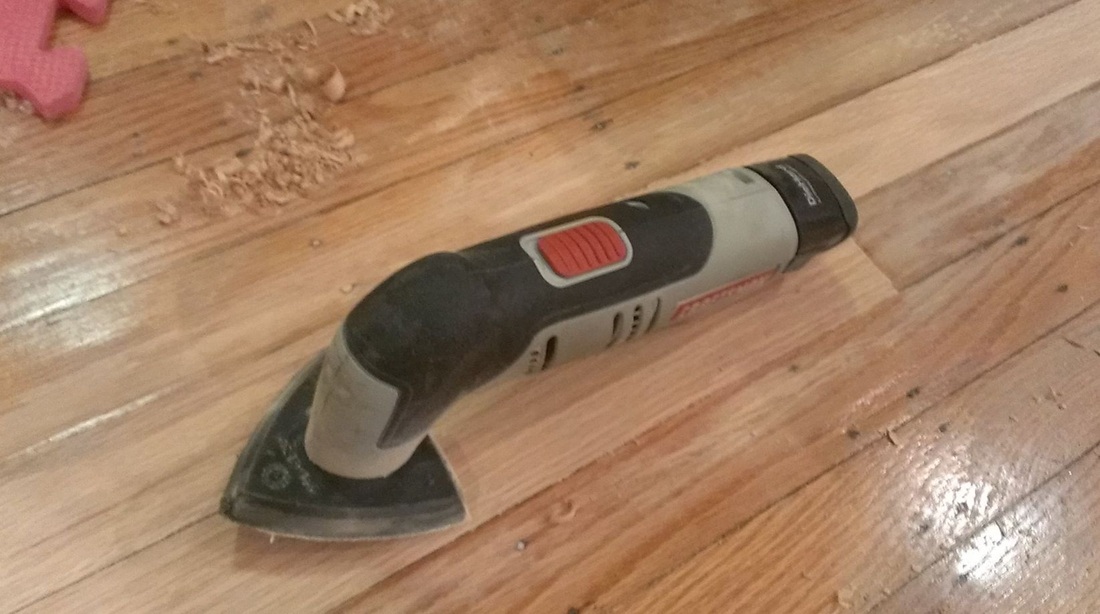
Use multi tool sander to get area flat and smooth, make sure to sand the sides of the old planks as they will have build up from years of gunk collection.
Use shop vac with brush attachment to clean all debris from sanding and nail pulling. Run fingers to feel for any bumps that might need further smoothing.
It is critical that the sub-floor is as flat as possible.
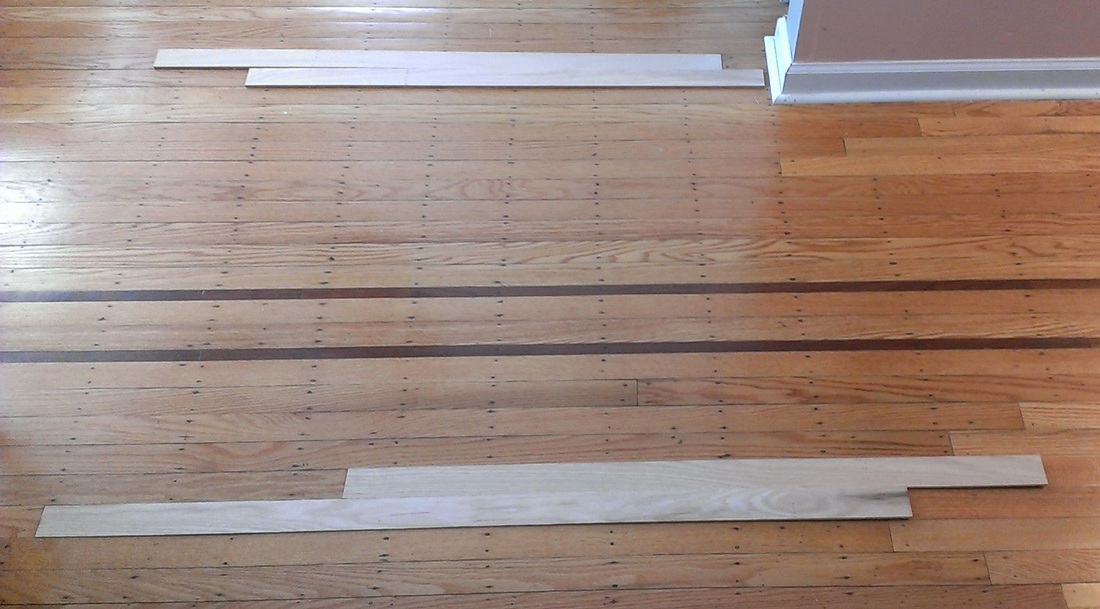
New, our floor circa 1926 was made from 5/16 x 2" slats of red oak. We sanded the floor in 2010 and it was now around 1/4" thick. We were able to find some new 5/16" x 2" planks at Dan Higgins flooring in Medford, NJ for a very reasonable price, as they had some left over from another order. In order to reduce manual labor, I took the 5/16" pieces to D.P. Millwork in Hatfield PA. They ran the planks through the sanding machine and got them down to around 1/4" thick.
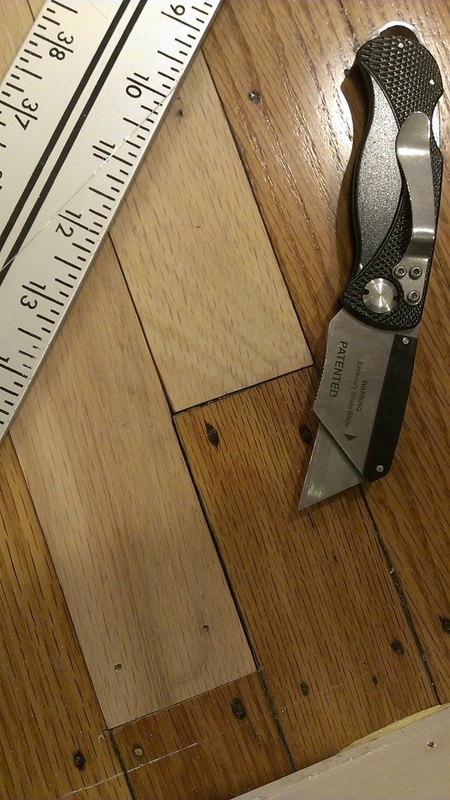
Next, lay the strips down and mark for length trimming with a fine pen - always have a few extra pieces on hand in case you forgot to measure twice and cut once.
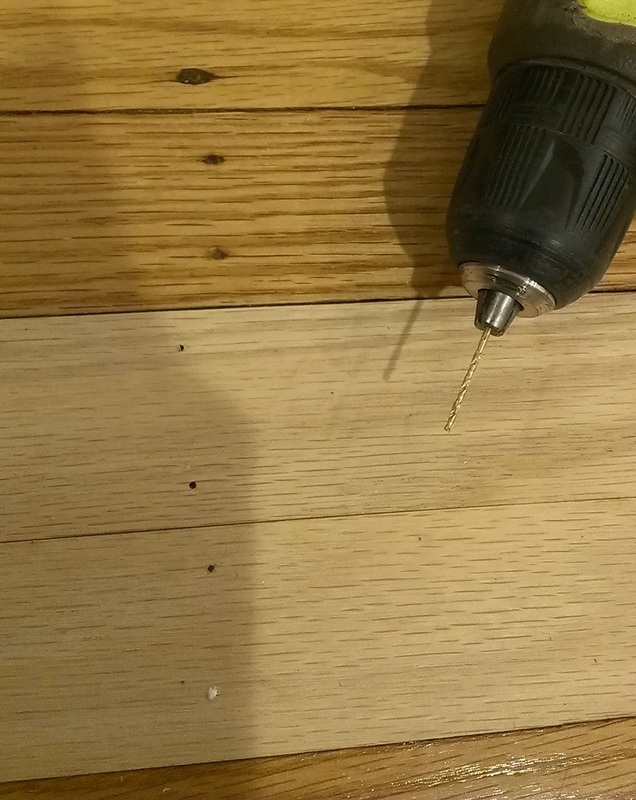
Once you have the length right, it is time to make sure the width will work too… back in the day, things were less precise. In our case we had to sand/plane the sides of two planks as it was a little tighter than 2". One area needed some heavy razor cutting/planing/sanding to fit properly. Use a metal t-square to act as a guide when you need to remove material from the sides of the planks ( if you need more than 1/32" or so of material gone), otherwise you will be sanding all day. Having the planks too tight is bad and will cause problems in the summer, they need a little room to expand and contract. Now that you have dry fit your pieces (and they fit properly), it is time to drill your pilot holes for the hold down nails. Use a slightly smaller size than your nail to add a little more holding power. (vacuum again after you drill your pilot holes, sand the underside of the planks again too as pilot hole wood chips get in places that will create gaps.) Next, lay down a bead of construction adhesive. I went with a tight squiggle so that it did not leak through the seams. Walk on the boards to press down firmly. Use a nail set to drive the nail heads around 1/16" under the surface.
Remove all old nails - use channel locks, mini pry bars, hammer claw. Any nails that won't cooperate, hammer down flush.
Use multi tool sander to get area flat and smooth, make sure to sand the sides of the old planks as they will have build up from years of gunk collection.
Use shop vac with brush attachment to clean all debris from sanding and nail pulling. Run fingers to feel for any bumps that might need further smoothing.
It is critical that the sub-floor is as flat as possible.
New, our floor circa 1926 was made from 5/16 x 2" slats of red oak. We sanded the floor in 2010 and it was now around 1/4" thick. We were able to find some new 5/16" x 2" planks at Dan Higgins flooring in Medford, NJ for a very reasonable price, as they had some left over from another order. In order to reduce manual labor, I took the 5/16" pieces to D.P. Millwork in Hatfield PA. They ran the planks through the sanding machine and got them down to around 1/4" thick.
Next, lay the strips down and mark for length trimming with a fine pen - always have a few extra pieces on hand in case you forgot to measure twice and cut once.
Once you have the length right, it is time to make sure the width will work too… back in the day, things were less precise. In our case we had to sand/plane the sides of two planks as it was a little tighter than 2". One area needed some heavy razor cutting/planing/sanding to fit properly. Use a metal t-square to act as a guide when you need to remove material from the sides of the planks ( if you need more than 1/32" or so of material gone), otherwise you will be sanding all day. Having the planks too tight is bad and will cause problems in the summer, they need a little room to expand and contract. Now that you have dry fit your pieces (and they fit properly), it is time to drill your pilot holes for the hold down nails. Use a slightly smaller size than your nail to add a little more holding power. (vacuum again after you drill your pilot holes, sand the underside of the planks again too as pilot hole wood chips get in places that will create gaps.) Next, lay down a bead of construction adhesive. I went with a tight squiggle so that it did not leak through the seams. Walk on the boards to press down firmly. Use a nail set to drive the nail heads around 1/16" under the surface.
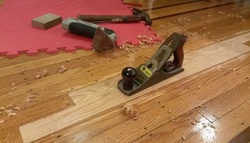
Now feel the boards from the old to the new - I still had a 1/32" or so height difference that needed to be reconciled. Use a plane with a sharp blade - sharpen prior to beginning or you will have trouble. Make sure that nails in the adjacent old planks are sub flush with your nail set. If you make contact with the plane, your blade will be damaged. Get the wood so that when you run your finger from plank to plank there it is smooth. Finish off with a medium course grit sand paper and vacuum once more.
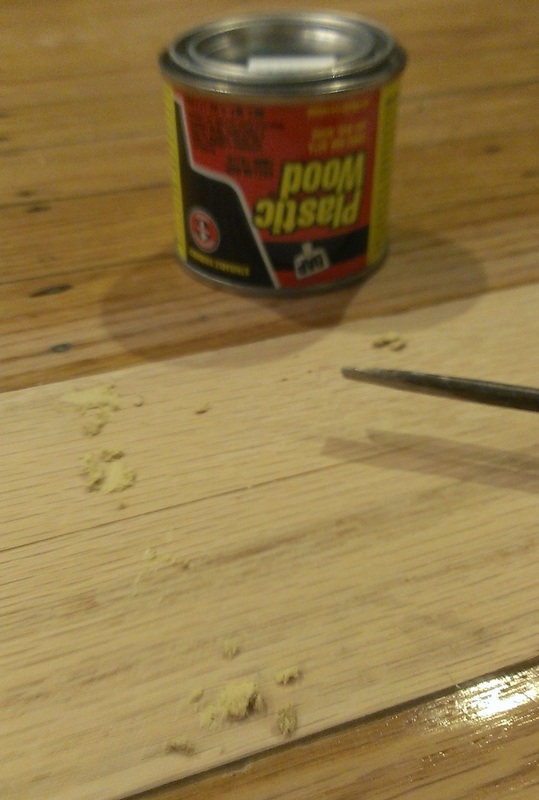
Use wood filler to cover the nail heads and make the surface flush. Sand once more to get it smooth. Vacuum one last time.
Use wood filler to cover the nail heads and make the surface flush. Sand once more to get it smooth. Vacuum one last time.
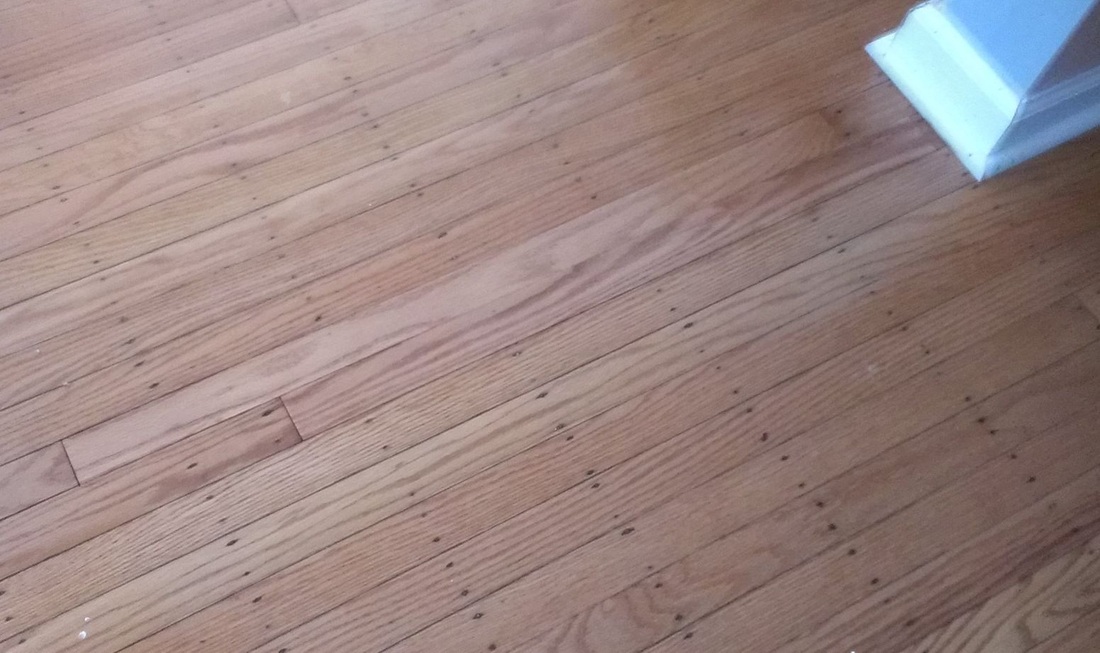
The old wood and new wood are the same material but completely different colors, even if your original had no stain. This is due to wear/tear and sunlight. First take a damp rag to remove any residual dust. This damp rag also wicks up the grain and enables the wood to absorb more stain and polyurethane. I would recommend applying 1 or 2 coats of gel stain to the new wood in a slightly sporadic pattern to give the appearance of old wood. Don't worry it does not have to be perfect, just close. wear gloves or your fingers/nails will be brownish for 3 days. Allow to dry.
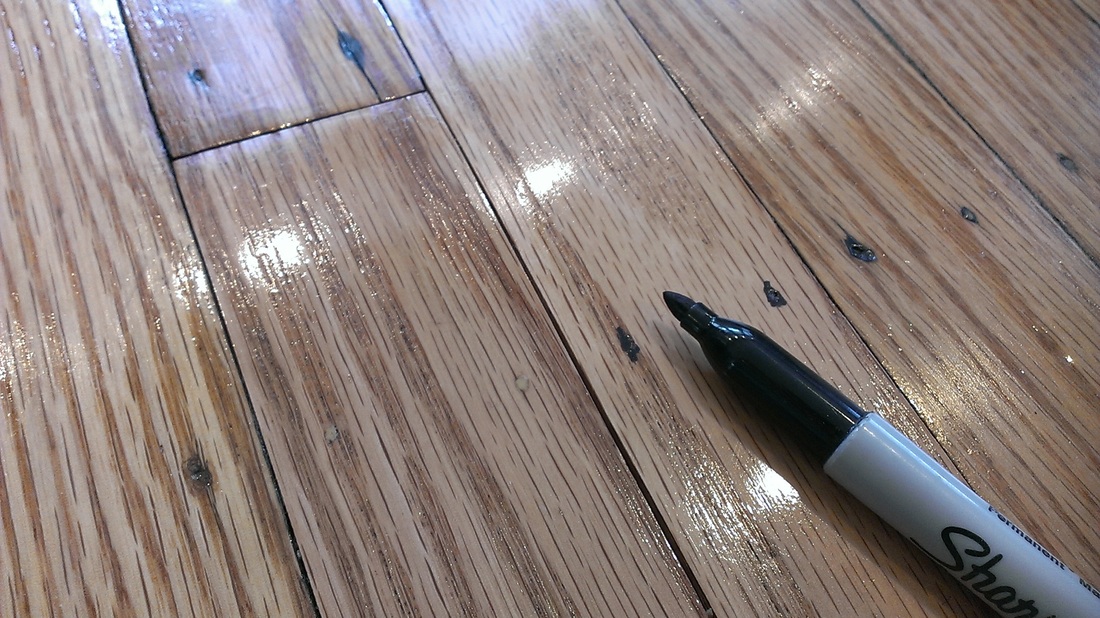
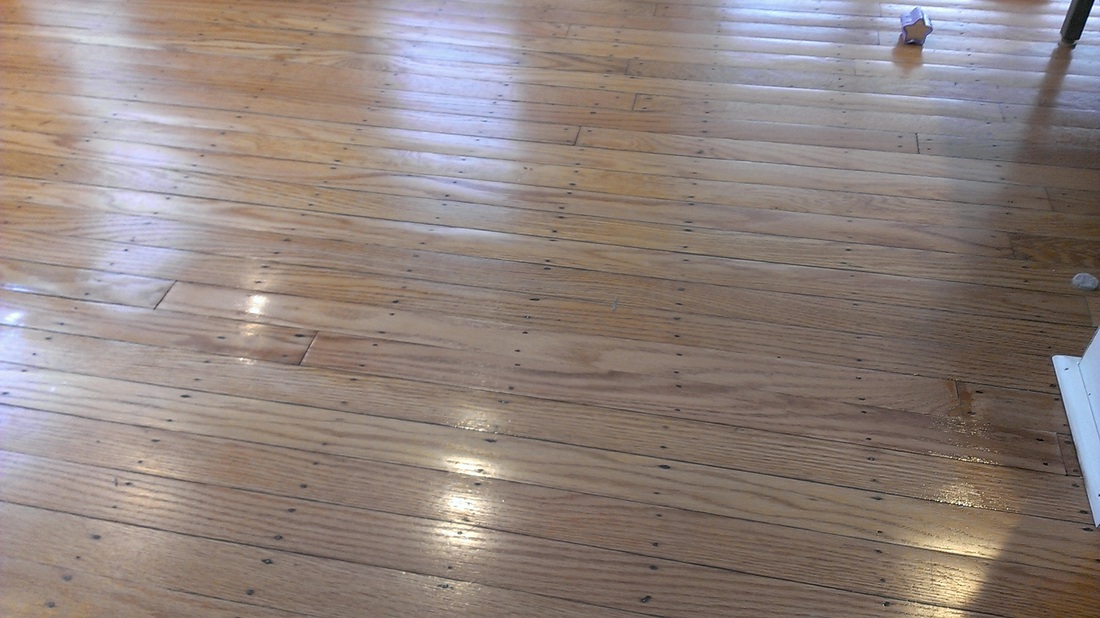
Apply 3 coats of oil based polyurethane. I kept two fans blowing at the wet planks in between each coat so that it would dry faster and an exhaust fan to draw fresh air into the house - as the vapor is very toxic. Each coat takes 3-4 hours to dry completely. Very lightly sand in between the first two coats with 200 grit paper to ensure maximum absorption and smoothness. I put some chairs over top of the wet planks in-between each coat to keep us from walking on them and ruining the poly. You can apply some poly to some of the adjacent planks so that the new blends in with the old. Lastly, it is very difficult to naturally reproduce the oxidation marks left from the old nails on a flat faced floor. The new nails we used are galvanized, so they will likely not oxidize. Sharpie to the rescue. Try to match the black marks from the old planks to the new planks - at eye level, you won't be able to tell the difference. The floor may need a touch up every year or so to keep it looking vintage. Once the floor gets walked on and cleaned a few times, it should blend in nicely.
Good luck with your floor patch project!

 RSS Feed


