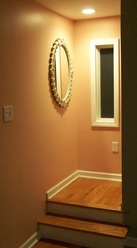
Well I bring you great news. If you're able, head to NJ and pick up some of these retrofit LED(light emmitting diode) lights at the home store. (They are available elsewhere, but the tax laws in NJ currently make it less costly than other surrounding states). Alternatively get them online - see link below. (Note: The Cree CR6 have a 50k hr and 5 yr warranty vs. home store's version 35k hr and 3 yr warranty)
They are dimmable, instant on, and install in around 2-3 minutes. (though you need to ensure that your dimmer is compatible - link here) The electronic low voltage dimmers work best with shared circuits. Combine these LED lights with an occupancy/daylight sensing dimmer switch and you have a real energy/time saving powerhouse.
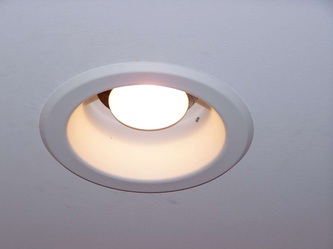
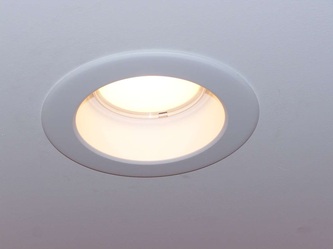
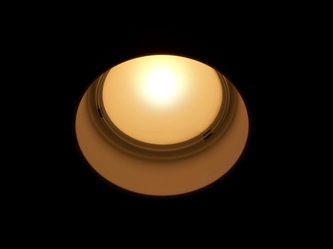
They consume only 10.5 watts yet throw off an amazing amount of light. Another plus is that you can not tell they are LED. There are no visible dots of light like many screw in bulbs on the market. The transluscent lens on the fixture casts beautiful clean light. Challenge someone to come over to your house and tell which one is LED vs. Incandescent.
Update 12-18-15: Put the newer suggested Cree model that is now available with the wired socket.(See updated links below) Makes for a much easier install and works with a wider variety of fixtures. Also make sure you get the foam insulating rings if putting them in a ceiling that has attic space above.
1. Grab some safety glasses as everything is overhead, and will likely fall in your eye otherwise
2. Make sure the light switch is turned off - allow bulb to cool
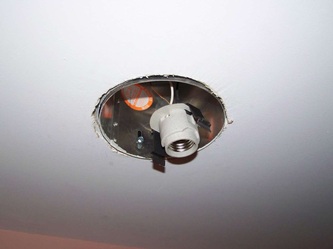
3. Unscrew old light bulb - donate or recycle. Don't trash old CFL's they have mercury vapor which is extremely toxic. (could also use/keep them for applications low use areas like basements or garages)
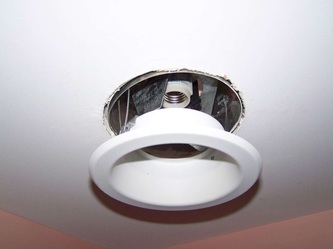
4. Remove the trim ring (pay attention to the springs and wear gloves if you have delicate hands)
5. The springs will want to destroy the drywall upon exit, so keep a firm grip.
6. Remove the ceramic bulb socket from the trim ring (on some cans lights, it is screwed to the top of the steel housing instead).
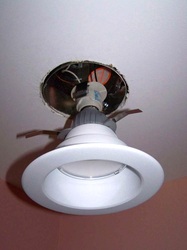
7. Screw in the new LED retrofit light
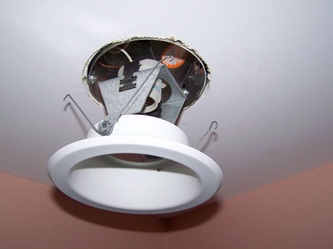
8. Rotate the (3) spring clips out all the way clockwise until they are locked
9. Test that the light turns on properly
10. Carefully bend down the 3 tabs simultaneously (wear clean thin gloves, as these three spring tabs can deliver a nasty finger cut if not careful) and guide them up into the recessed housing.
The force from the springs keeps the fixture lodged very tightly - (but it is removable if need be)
The color rendering is phenomenal - even better than incandescents.
You can even pair black, brown and blue socks without difficulty!
The time to switch to LED is now - prices are down and quality is up.
Just say no to ugly flourescent lighting in the home.

 RSS Feed


